Small Wonder Labs SW-40 Kit (Part 2)
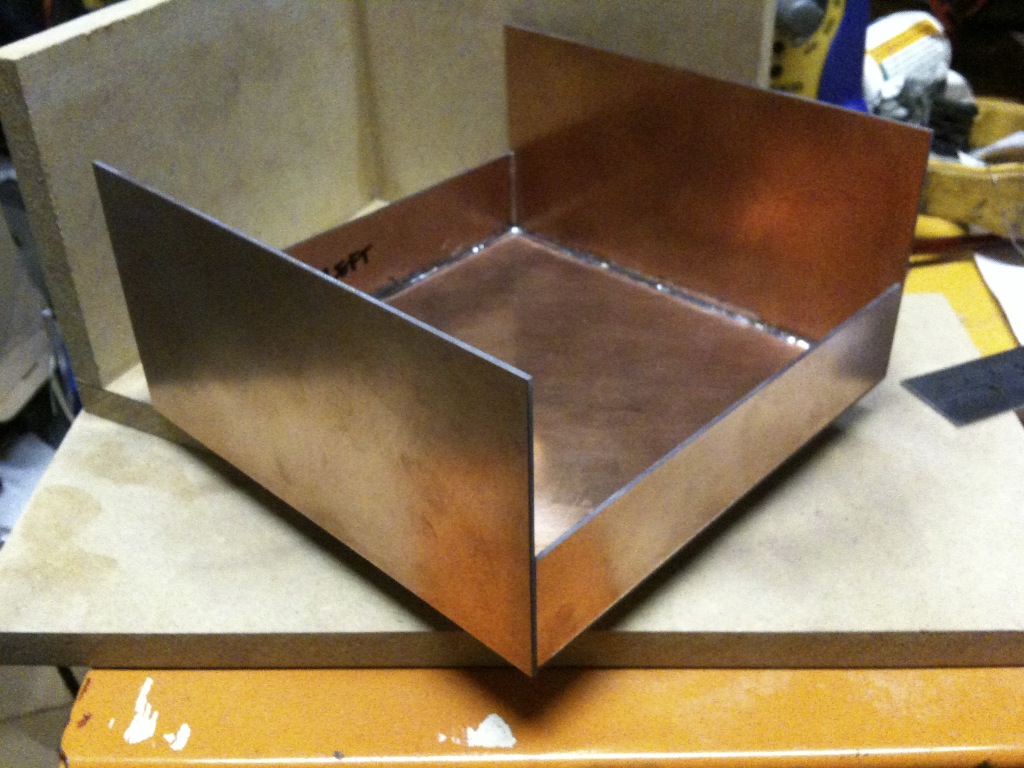
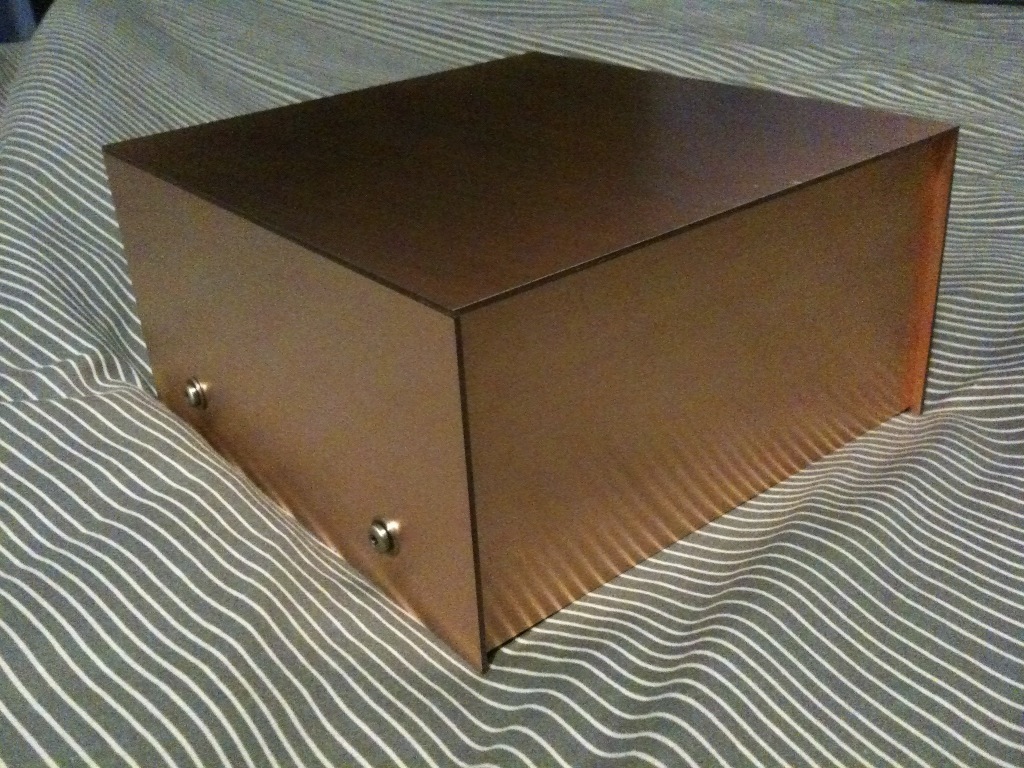
Being my first transceiver, I really wanted to make it my own (well, as much as I could with a kit…). I had seen many radios built into cases made from FR4 fibreglass PCB material, and thought I might have a go at doing my own.
Quite a simple process but it would have been much easier if I had access to a treadle shear. I cut the basic shapes on my table saw, allowing for a few millimeters to get the sizes accurate and remove any rough edges left by the saw. I then used wet/dry sandpaper to square up the edges and get all the sizes correct so the box fit together with no gaps.
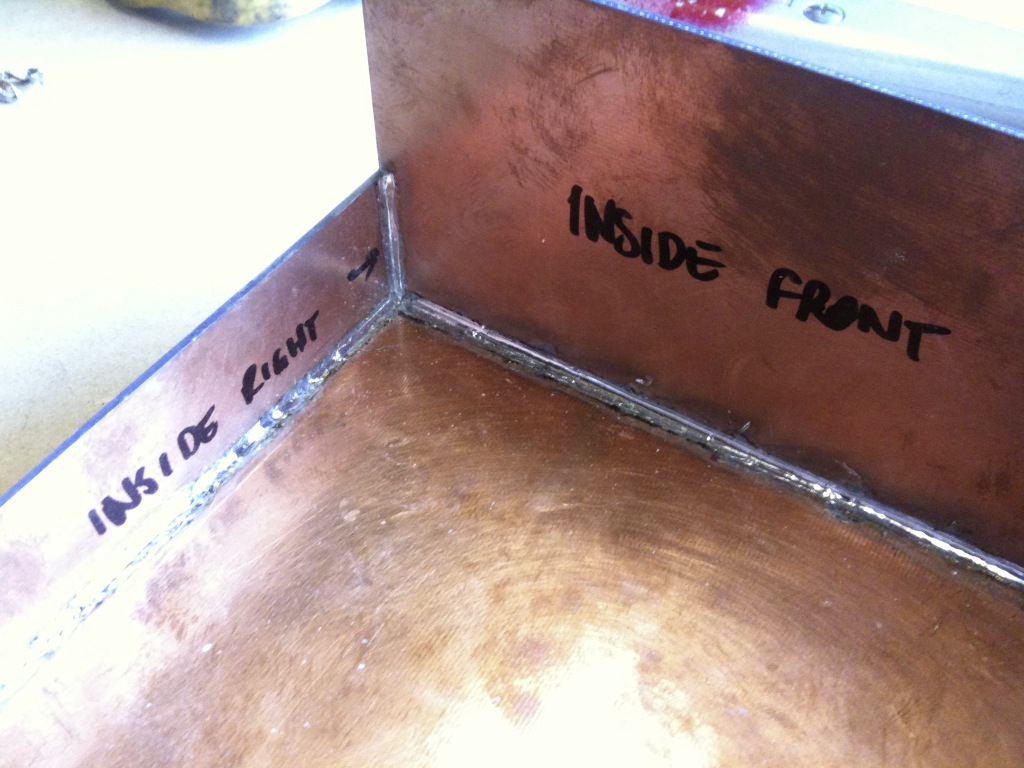
The next step is to solder the case together. I made a jig with 3 90 degree angles in a corner shape, this helped me keep the box square as I soldered it.
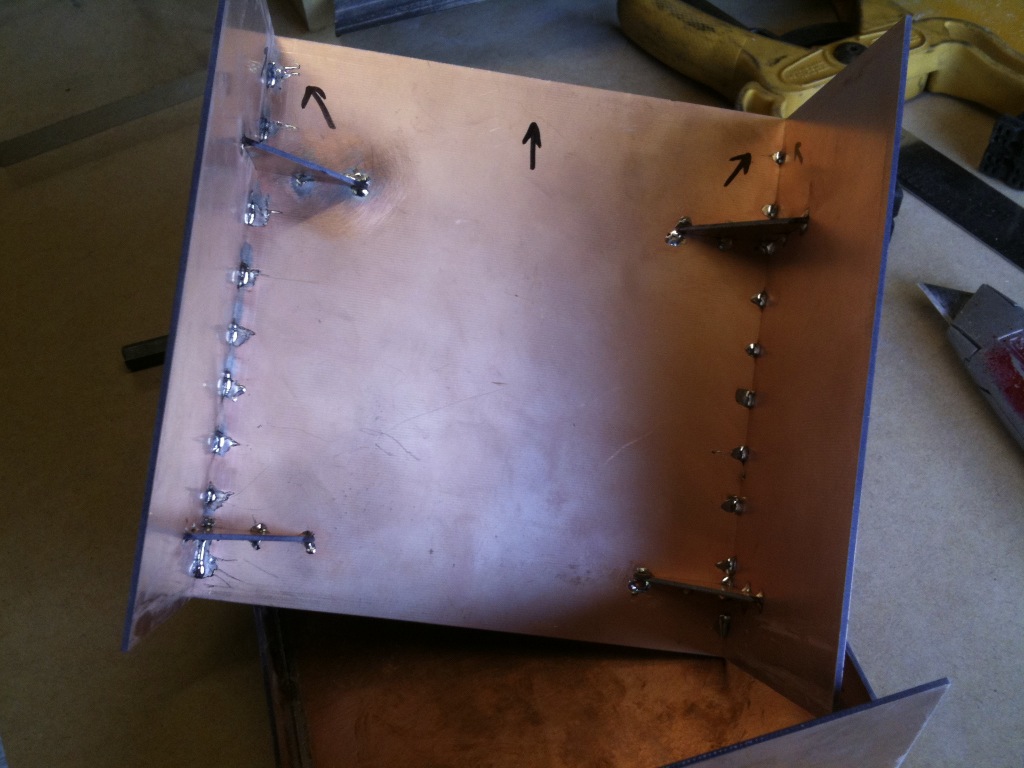
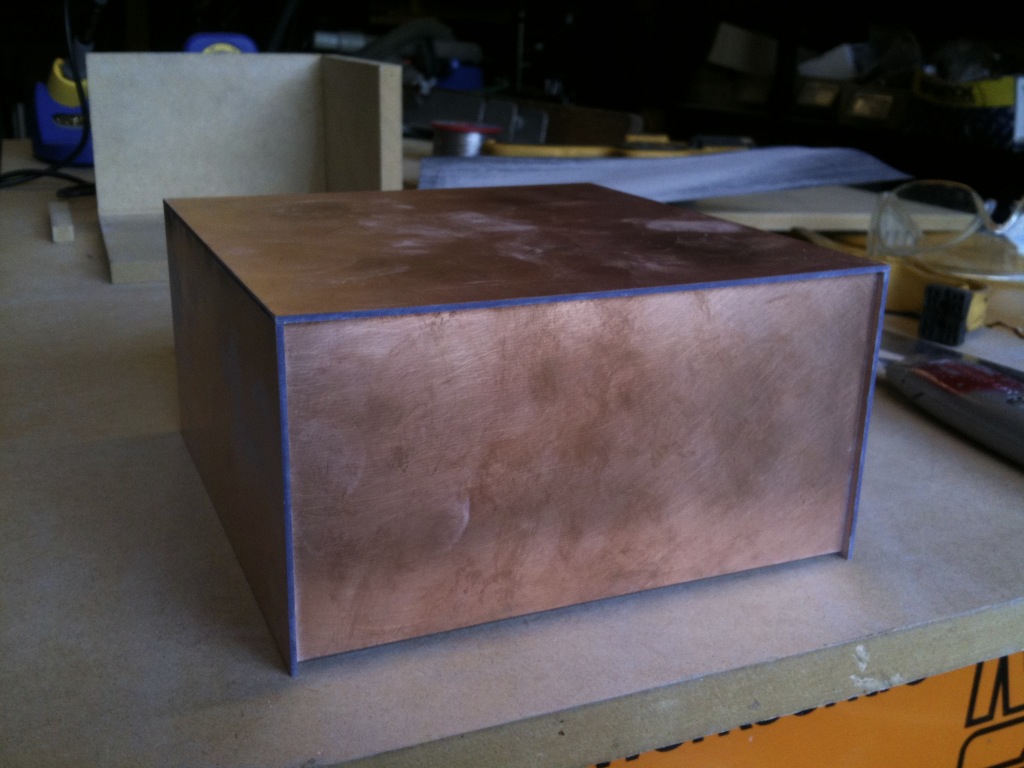
Once that was done, I marked out where the holes for the screen and controls would go and I drilled/filed to shape. The final step was to clean the copper again and paint it with clear to prevent the copper from oxidising. Very happy with the results!