Small Wonder Labs SW-40 Kit (Part 3)
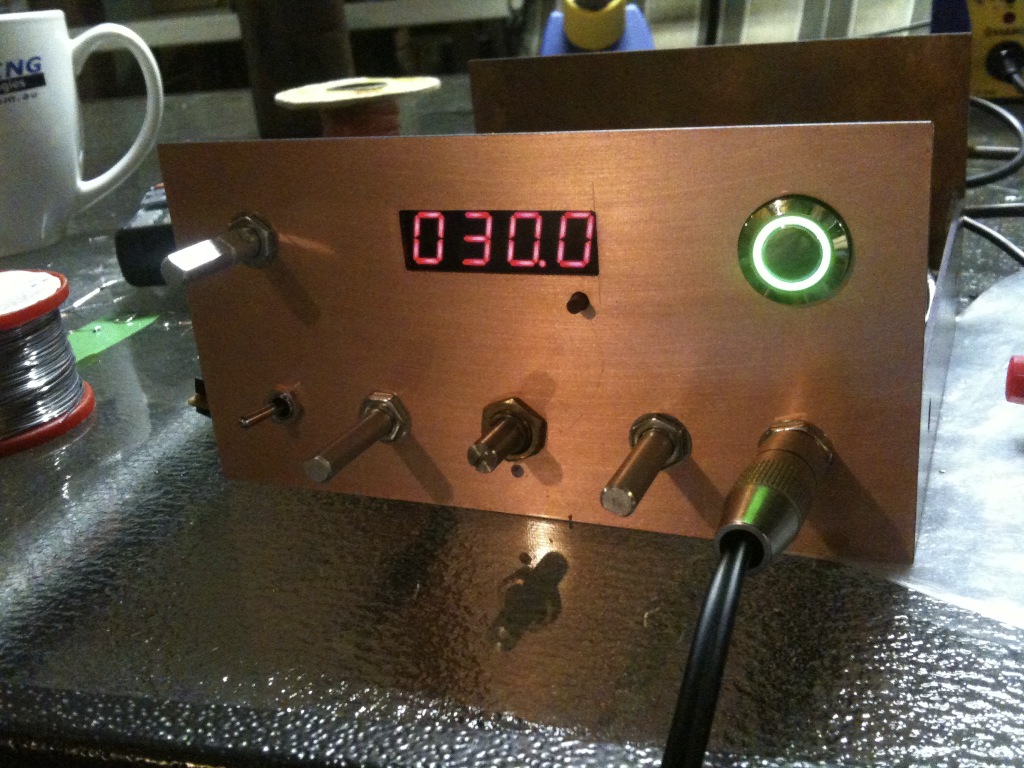
With the case finished, there was only one thing left to do… Jam the radio in the case and make it work!
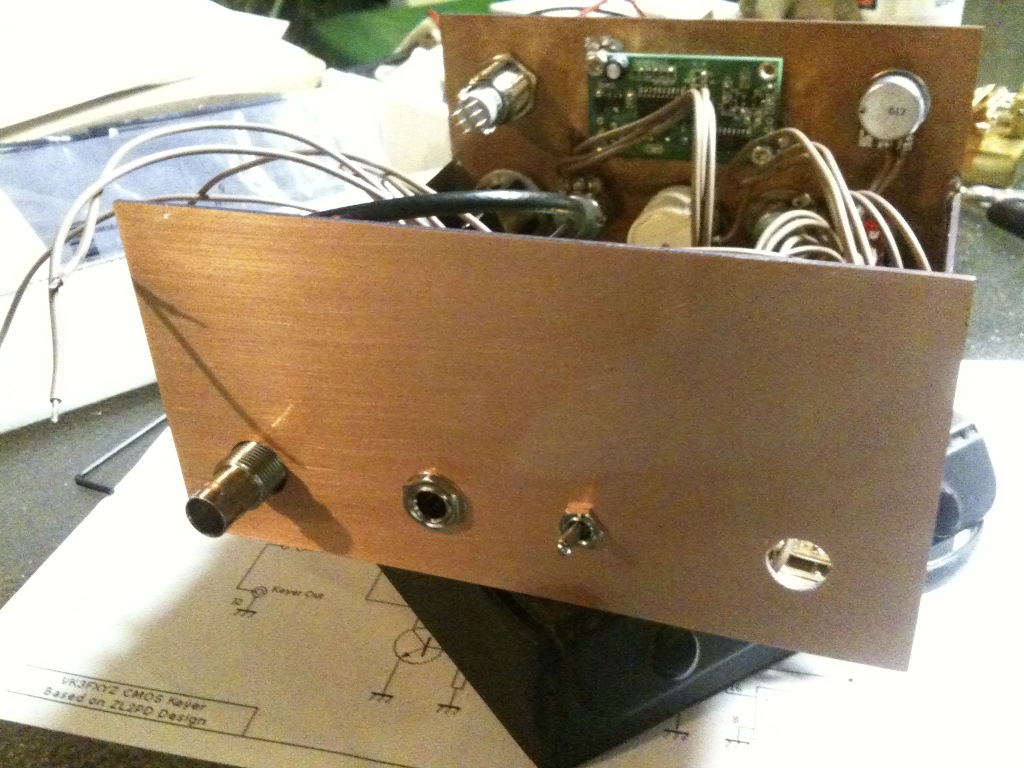
The digital dial kit and main board are secured to the case using brass stand offs (used for securing motherboards in PC cases), once cleaned up they solder rather nicely to the PCB cladding. The lid is secured in the same way. The rest of the boards in the case are secured using double sided tape, they seem fairly well supported and weigh so little that they shouldn’t come free any time soon.
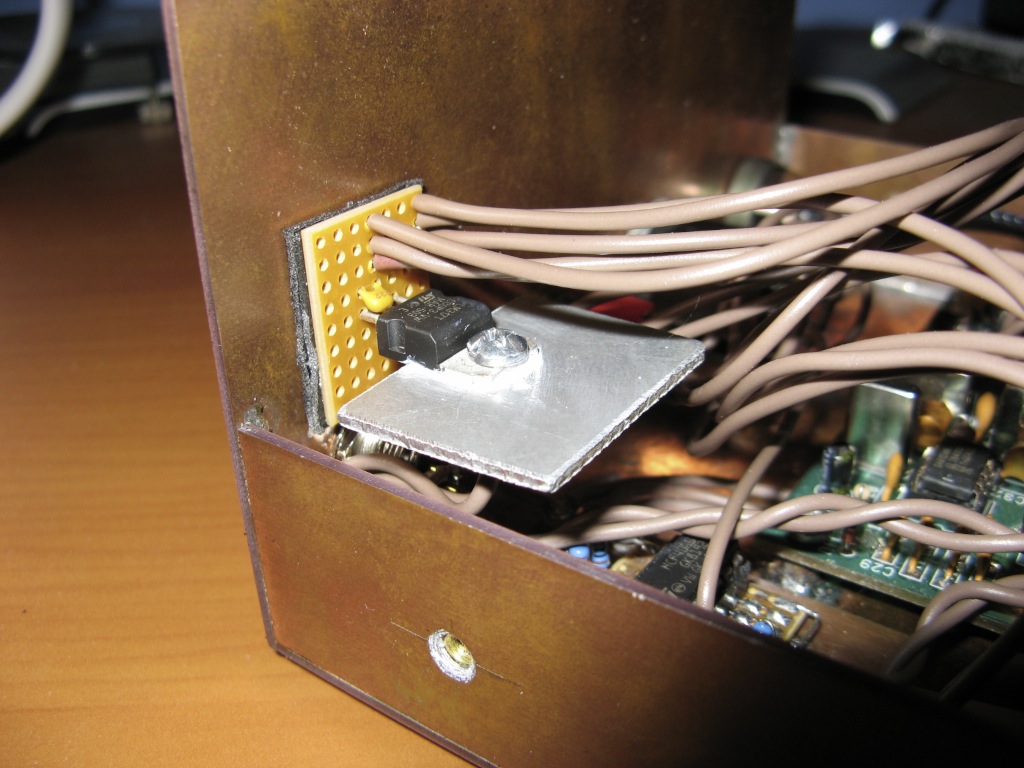
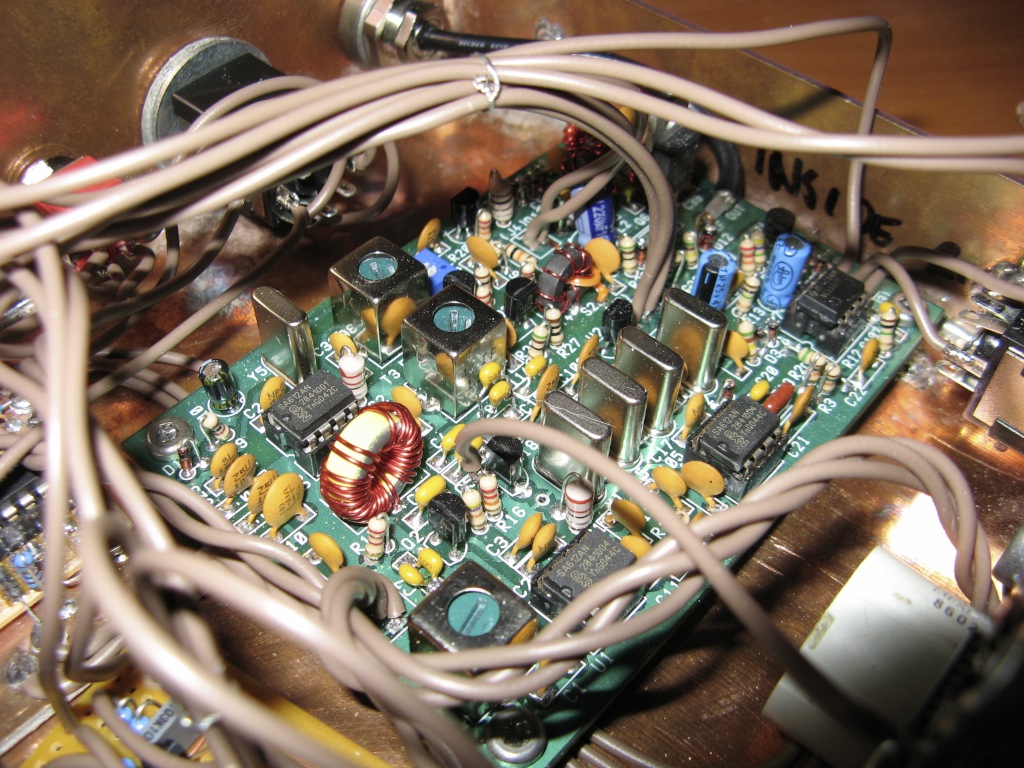
In the photos you can see the main board, the digital dial and a few other additions I made to the radio:
– The most visible is a small LM317 circuit used to step down the 16.5v laptop switchmode PSU. 16.5v is a little high for most of the devices in the case, 14v is just within the maximum spec (and just inside the cut-off volatge for the LM317).
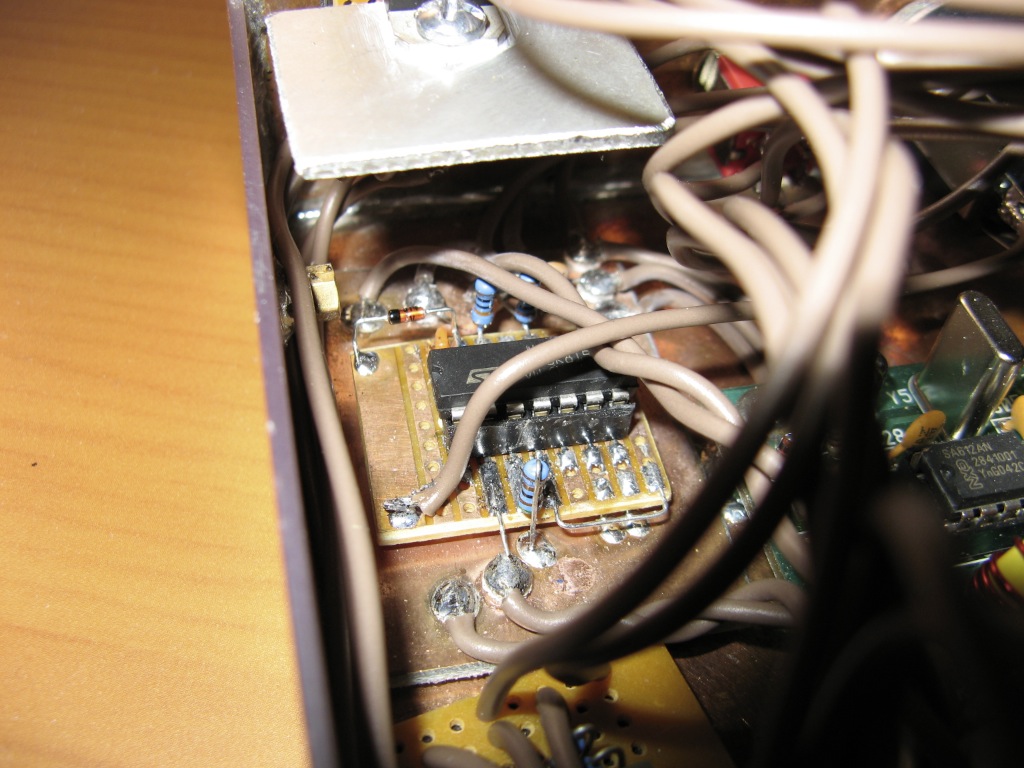
– Located just below the regulator is the RIT tuning module. This is built dead-bug style, with the CMOS logic mounted in a socket which is soldered on to some veroboard up-side-down.
– The final addon board in the pictures is a failed iambic keyer I built, it’s sitting in front of the RIT board. I had a go at troubleshooting it but caved and ordered a picokeyer chip that I plan to build in shortly.
With all that done, the radio just needed a few little finishing touches and it was up and running. I am very happy with the way that it turned out, it performs well and looks great!
The SW-40 kit can be purchased from the Small Wonder Labs.
The digital dial kit can be purchased from Hendricks QRP Kits.